Complex Function Animations
Draw Functions as images and create an animation between points and scales on the graph. This is my first project working with common lisp.
This uses the imago common lisp library, which saves images as files that can be turned into an animation.
How It Works
The function pixel-to-graph-space transforms a given pixel of the image into x and y coordinates
on the graph based on the position of the image and the final resolution. The x and y components of
position control what the coordinates of the bottom left of the image are.
The scale component determines how much space is traversed from one side of the image to another.
The pixel positions are also offset by a half so they are sampled from their centers.
This allows the pixel function that the image creation function uses to take in an x, y, and scale
parameter for calculating the colour of an individual pixel based on a coordinate in a 2D plane.
(defun pixel-to-graph-space (component im-dim scale offset)
  (+ (* (/ (+ component ;; pixel x or y position
	          0.5) ;; + pixel half offset
	       im-dim) ;; / size of image width or height in pixels
        scale) ;; * scale of the image position
     offset)) ;; + x or y component of the image position
Animations work by interpolating between two supplied positions and saving images based on the number of frames it needs to draw. One way to achieve this effect would be to calculate a step vector between the start and end points and adding it to the start pos, multiplied by the current frame. This is the method I use for when the scale doesn’t change between the two points. When there is a difference in scale, the issue is that the zoom does not happen evenly, as the step vector will be adding the same scale amount each frame. A scale change of 0.1 looks very different if you are at a scale of 1 compared to a scale of 0.001. Shown below is an animation that uses a step vector approach for scaling on the left, and the approach I used on the right.


Each video is the same length and stop and start at the same time, but the one on the right seems to change much more evenly. The method I use works by ensuring the ratio of scale change to the current scale is identical between each consecutive frames. The derivation of the formula that gives this property is shown below.

In the code frames are indexed from 0, and this isn’t completely recalculated each frame. The following is constant for every iteration.
(let ((scale-change (expt (/ (pos-scale pos-end) (pos-scale pos-start))
			        (/ 1 (- frames 1))))))
And we just need to get the scale of some frame currentf with some simple operations.
 (* (expt scale-change currentf)
	(pos-scale pos-start))
To find the x and y offset given this scale we just need to calculate what percentage of progress into the animation the current scale represents. This is done by dividing the difference between the current scale and the starting scale by the difference between the ending scale and the starting scale. Then by multiplying the different between the starting and ending positions by this value, we get the offset that that scale would have during that frame.
All of the frames are saved to the supplied folder with numbers apended to show which frame of the animation that image represents. An animation can then be created with a command line tool such as ffmpeg or image-magick.
Usage
Requires a common lisp implementation (tested with sbcl) and quicklisp.
evaluate the asd file in your repl
(load "canim.asd")
load the package with quicklisp, which will install any dependencies for your
(ql:quickload "canim")
Now you can use the library
Creating Images
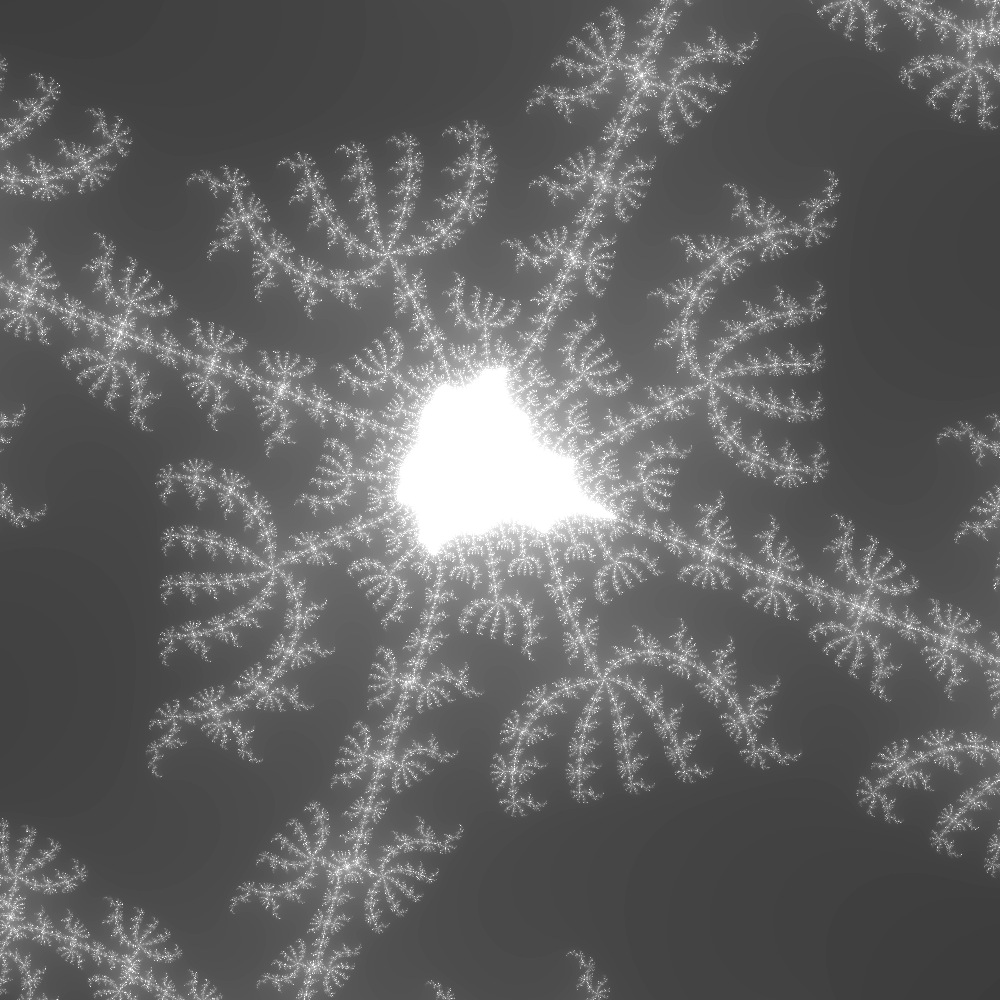
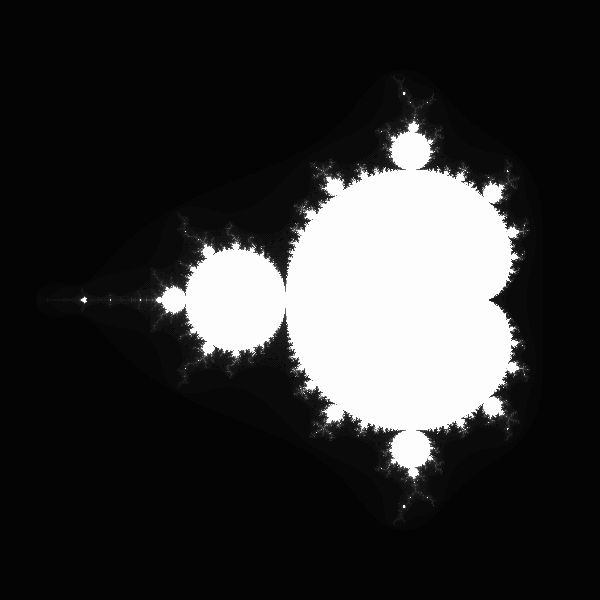
By default images are created using Mandelbrot, supply your own functions with the :pixel-fn arg.
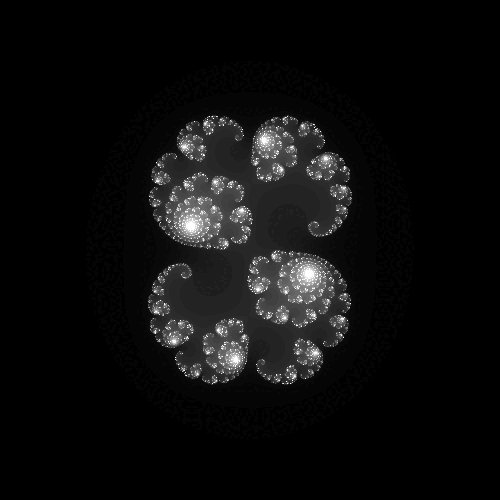
Julia set functions are also supplied.
Supplied functions must take an x and y value for a point on the complex plane,
as well as the scale of the image, and return a colour.
To make an image you can call
(canim:make-im "my-im.png" 100 100
	(canim:make-pos :x 0 :y 0.5 :scale 1))
Creating An Animation
To make an animation you can call
(canim:make-anim "anim-img-folder/frame" 250 250 50
	(canim:make-pos :x -1 :y 0.5 :scale 1)
	(canim:make-pos :x -1 :y 0.005 :scale 0.01))
Which will output a series of files in the anim-img-folder folder with names
framexx.png.
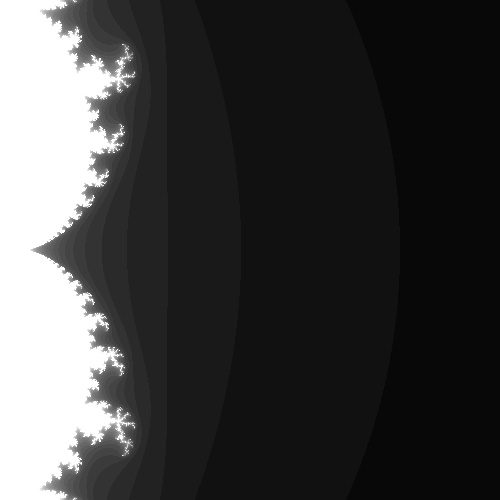
Using A Custom Pixel Function Example

This was made using
(canim:make-anim "build/myanim/" 100 100 100
		 (canim:make-pos :x -1) (canim:make-pos :x 2.0)
			 :pixel-fn #'(lambda (x y scale)
			       (canim:make-color (max (min
						       (floor (* 255
								 (if (> x 1.0) (- 2.0 x) x)))
						       255)
						      0)
						 0 0 255)))
Then converted to a gif using imagemagick:
$ convert --delay 2 build/myanim/*.png redgrad.gif
Using a Pixel Meta Function
Animations also support passing a pixel-meta-fn. This allows you to change the pixel function per frame. The meta function must take in a number from 0-1 representing the progress of the animation, and return a valid pixel function.
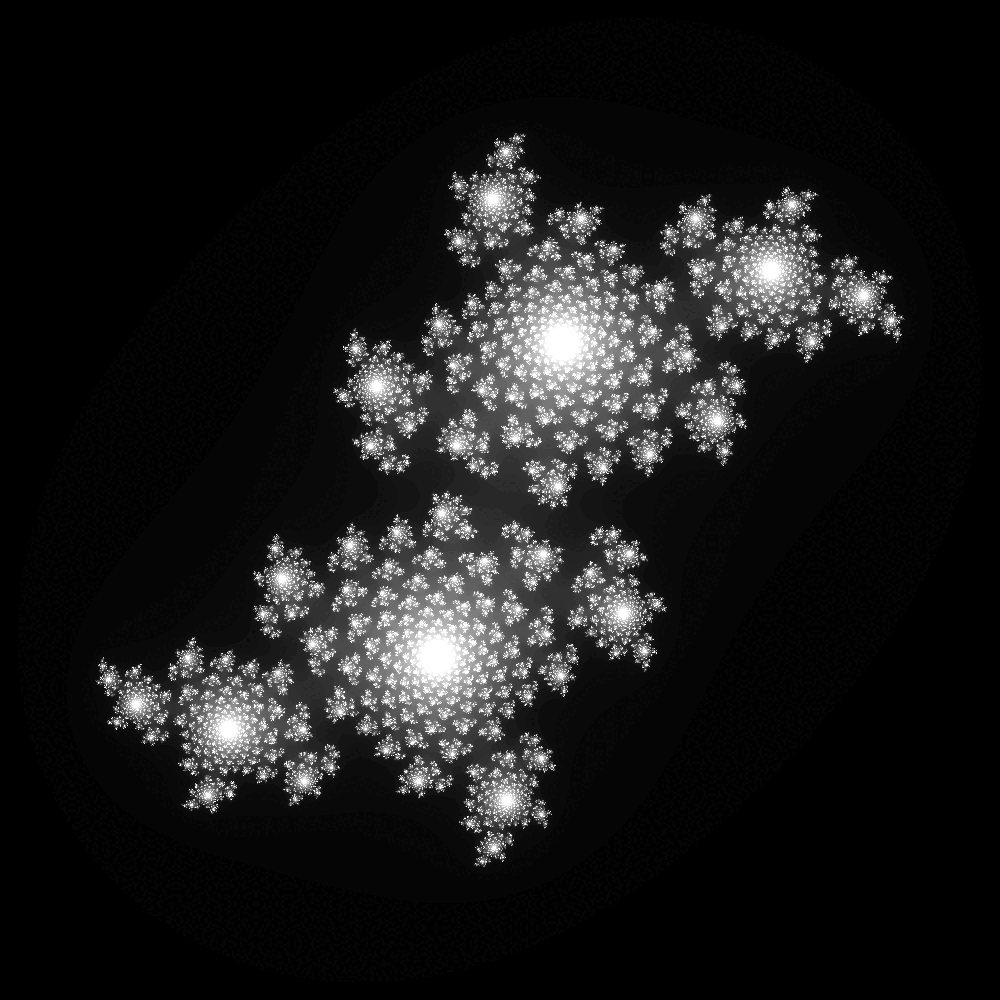
For example, included in the package is a function called julia-pixel-dynamic
which you can supply as a meta function.
You give this function start and end parameters for the julia set, pass the result as
the meta function, and the animation will interpolate between them.
Here is an example of using the julia pixel meta function.
(canim:make-anim "../build/" 1000 1000 20
		 (canim:make-pos :x -1.5 :y -1.5 :scale 3)
		 (canim:make-pos :x -1.5 :y -1.5 :scale 3)
		 :pixel-meta-fn
		 (canim:julia-pixel-dynamic
		  (canim:make-julia-params :c (complex 0 0.65))
		  (canim:make-julia-params :c (complex 0 0.635))))
Which produces the following animation: