Making a 3D Space Sim (GBJam11)
Set in a solar system full of planets. Lost ship logs litter key areas, rewarding exploration. The game uses Vulkan or OpenGL for rendering. Written in C++.
Here I go over a lot of the 3D maths involved in creating a space sim. This includes getting directions from world space to screen space and quaternion rotation for 6DOF ship movement. This is my second 3D game, and I feel I’ve learned a lot over the past week.
Here’s the source code on GitHub
Jam Details
GBJam (GameBoy jam) is a week-long game jam with the restriction of having the same resolution as a Gameboy (160×144) and using only 4 colours at once. The game must also use the same input system (dpad + A + B + start + select).

GameBoy Advance Playing a GameBoy Game
Because The game is made for playing on the computer, we are afforded much more freedom as compared to developing for the original hardware. Firstly the screen is much larger, and secondly we must map the computer’s input to the limited input of a gameboy.
The jam itself had a secondary theme of space. I really played into this, making a 3D space flight sim taking place in a large solar system.
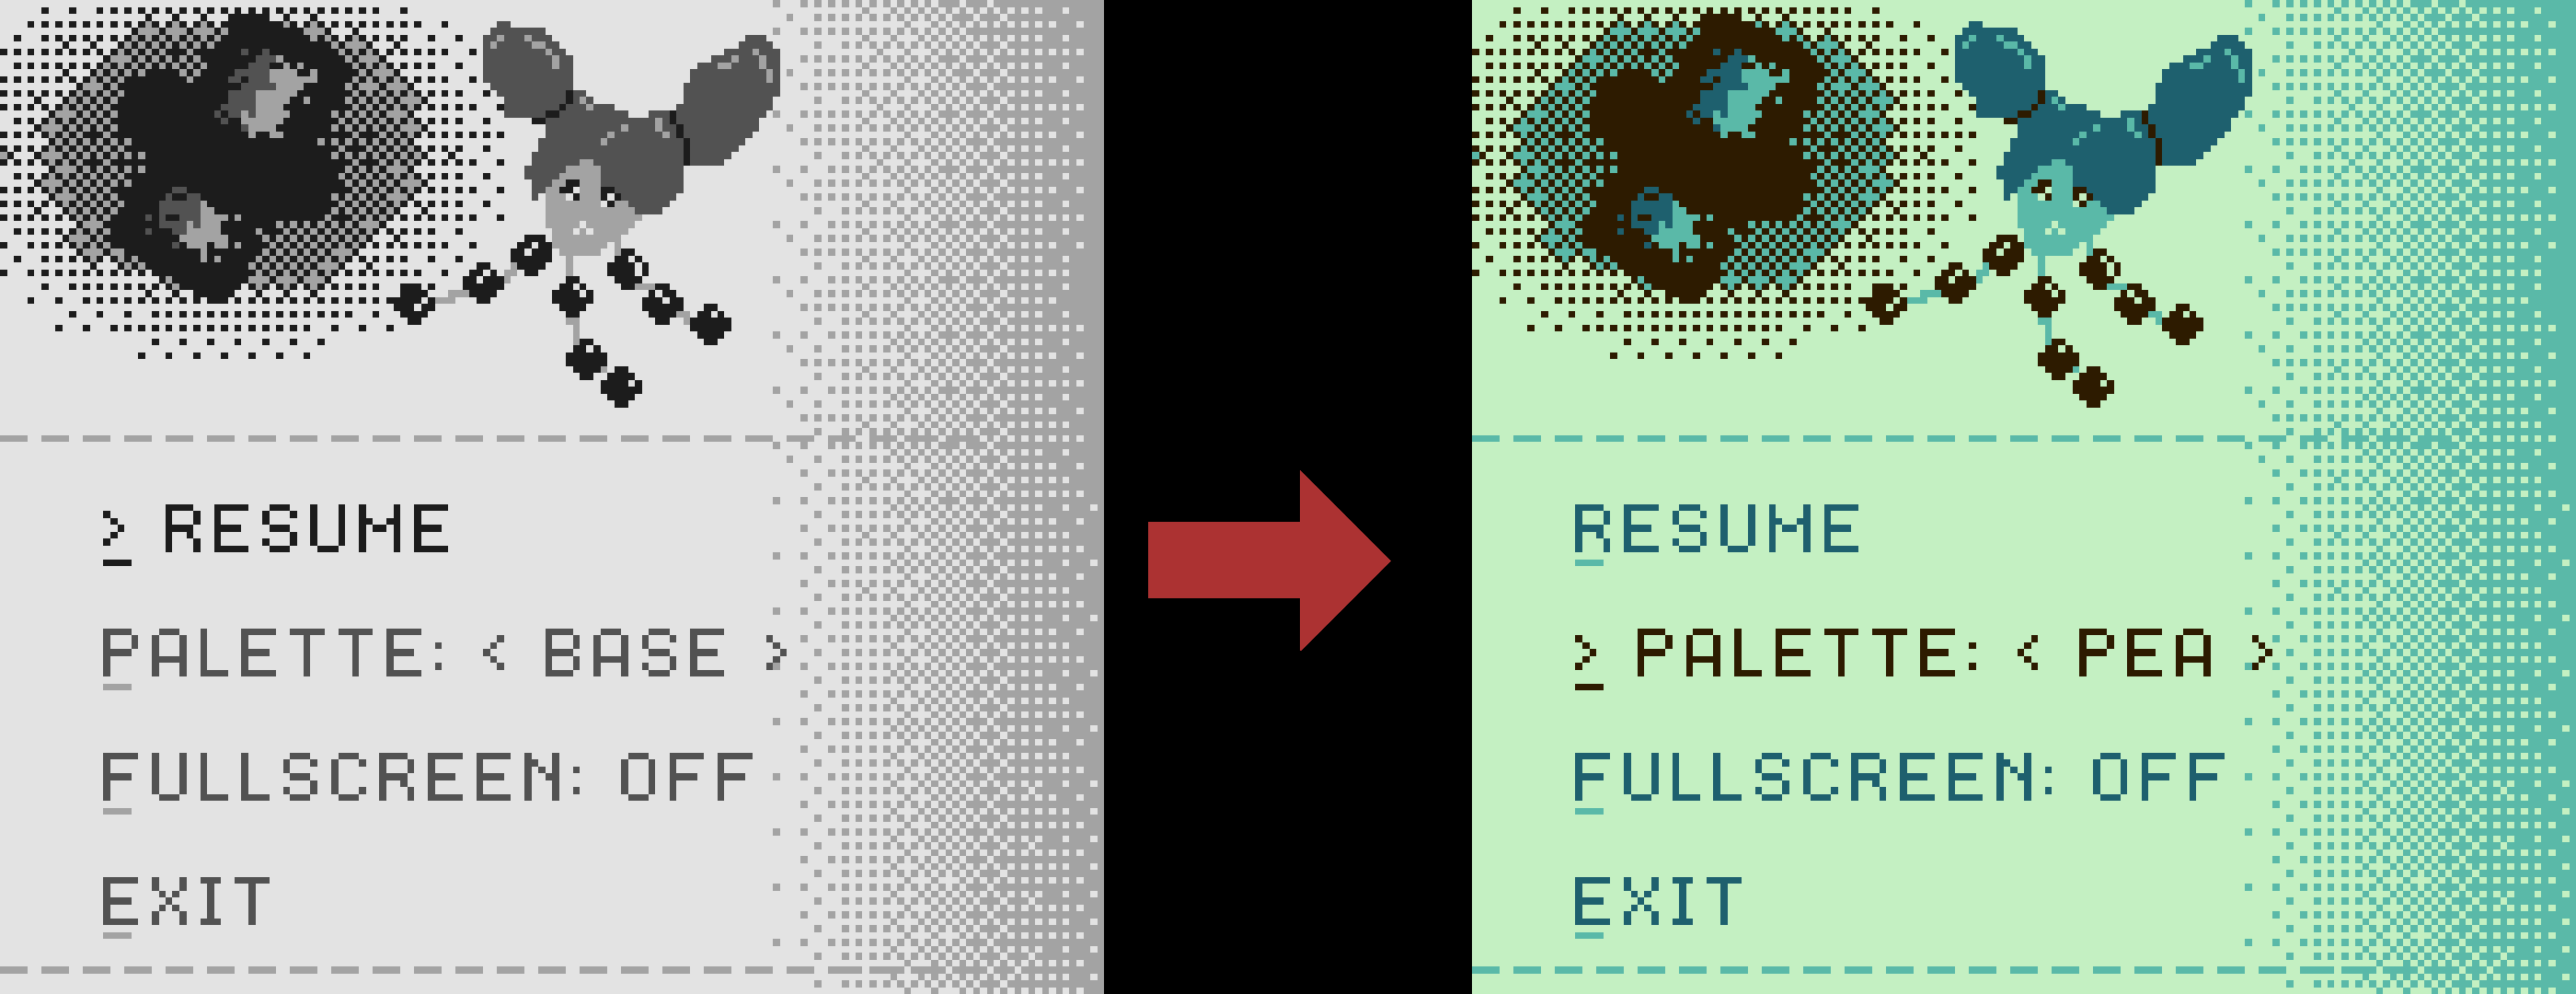
Palettes
The rules of the gamejam allow 4 colours to be used on screen at once, but they don’t have to match the actual colours of a Gameboy. The game’s palette is the specific colours being used to draw the game. A goal of mine was to implement an easy palette swapping system. This would allow the look of the game to be changed at runtime, and for new palettes to be added without recompiling.
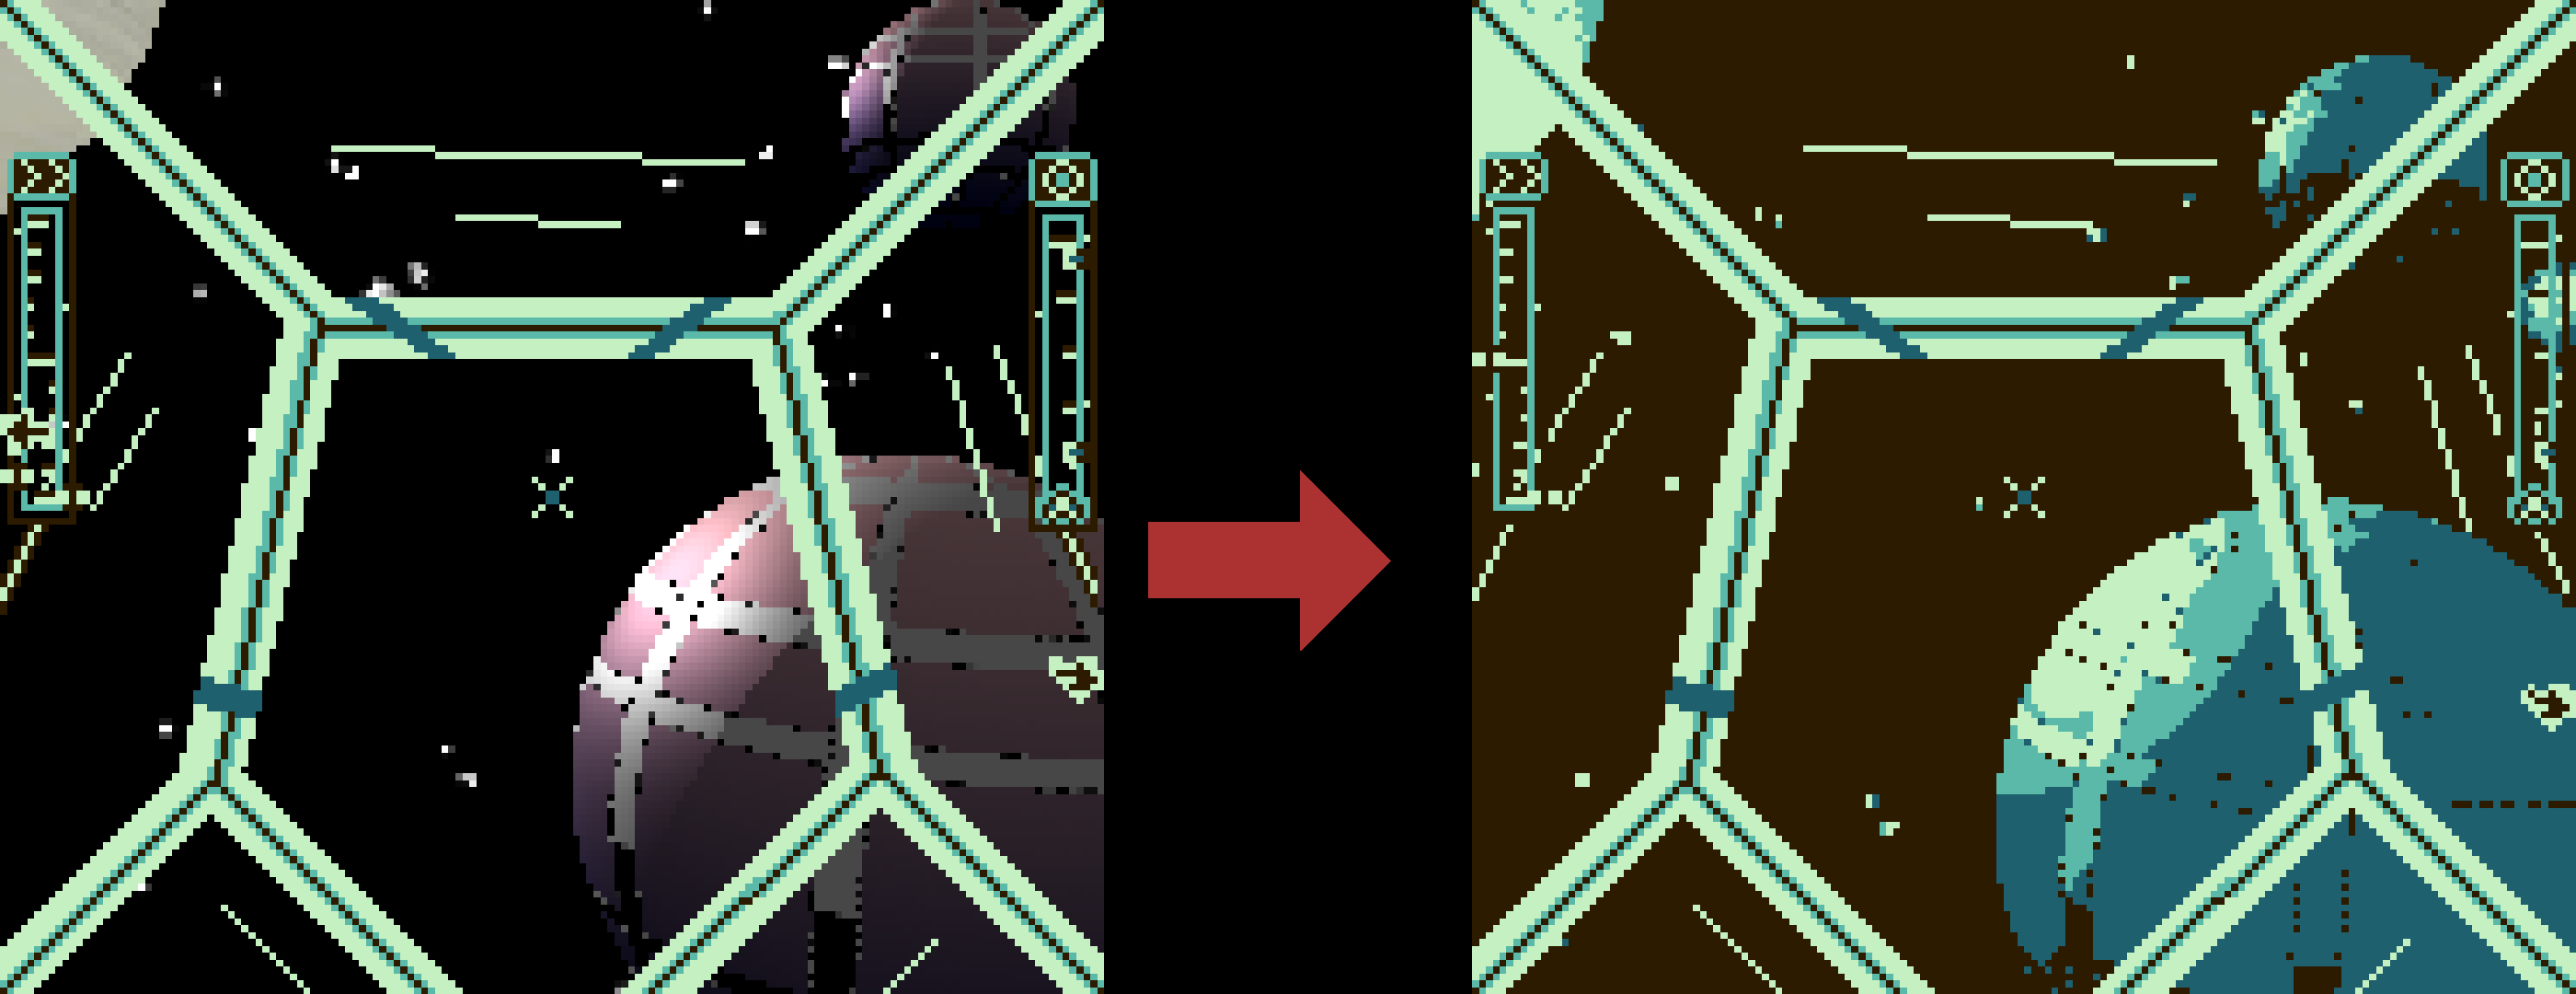
Palette Swapping in Action
Because of the differences in the shaders for 2D and 3D rendering, I decided to limit the colours in different ways for each pipeline.
2D
I limited all of the game’s 2D textures to 4 gray-scale colours, I could then render the textures as normal. The current palette is sent to the fragment shader and whichever of the 4 gray shades the fragment is, the colour can be swapped with the corresponding palette colour.
int col = int(outColour.r * 100);
switch(col) {
case COLOUR0:
	outColour = palette.col0;
	break;
case COLOUR1:
	outColour = palette.col1;
	break;
case COLOUR2:
	outColour = palette.col2;
	break;
case COLOUR3:
	outColour = palette.col3;
	break;
}
3D
In 3D I didn’t want to limit the textures to four colours, and I wanted to use lighting, which usually produces many different shades. The approach I took here was to do everything as normal, then at the end of the fragment shader I calculate the intensity of the final colour. I use the intensity as a threshold value to choose one of the 4 colours from the palette.
float intensity = (outColour.x + outColour.y + outColour.z) * 33;
if(intensity < COLOUR0)
	outColour = palette.col0;
else if(intensity < COLOUR1)
	outColour = palette.col1;
else if(intensity < COLOUR2)
	outColour = palette.col2;
else
	outColour = palette.col3;
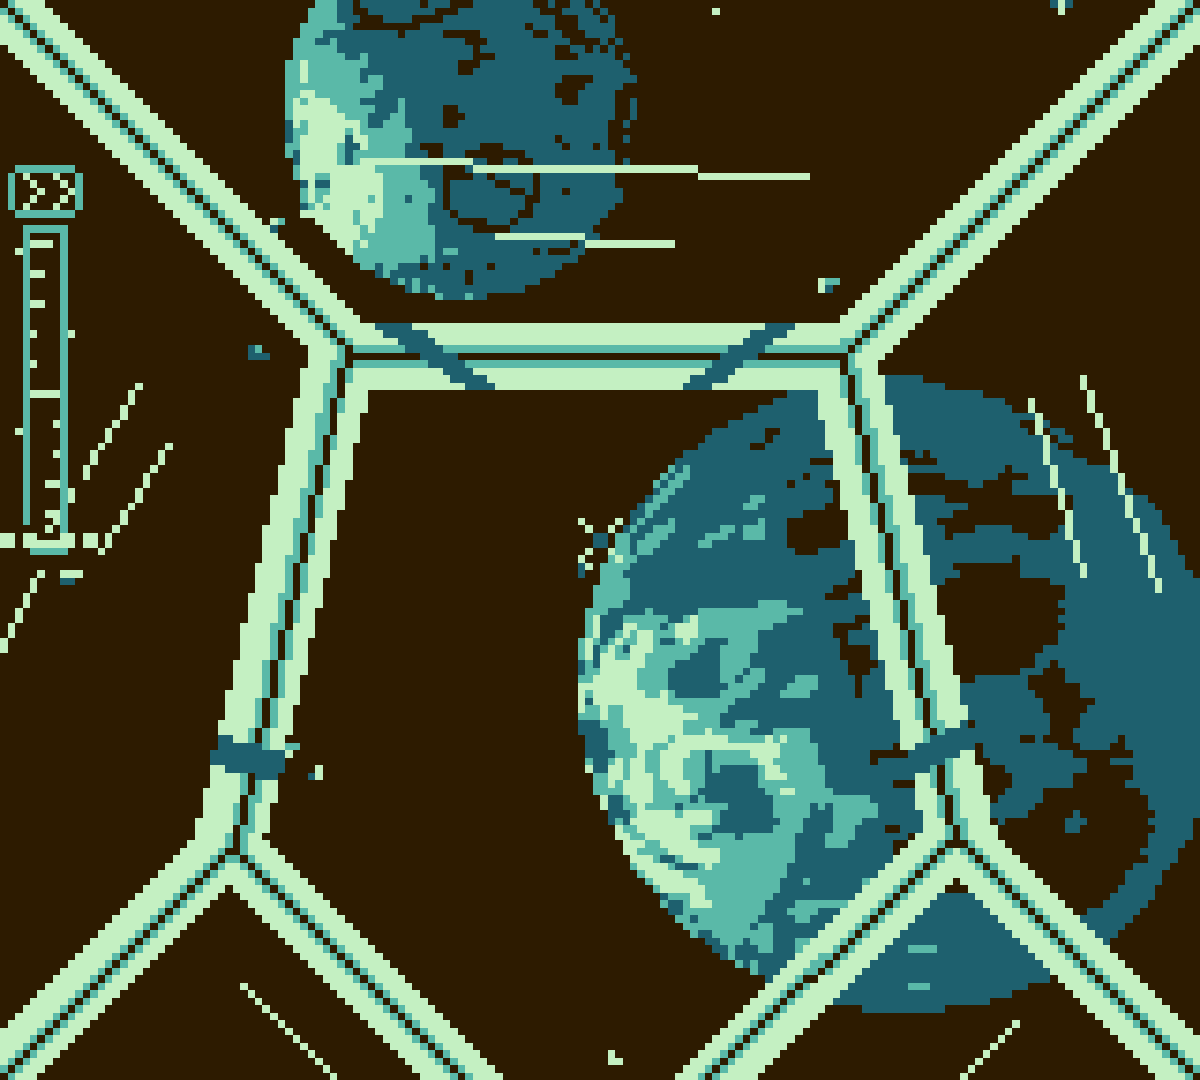
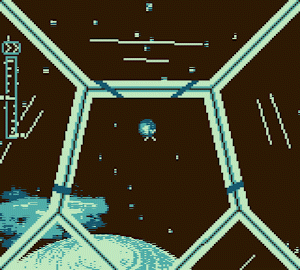
The Solar System
The planets are hand placed around the sun, which is source of the light for everything. I placed it at the origin of the world to make the maths behind shading the planets easier. The planets are a 3D sphere with the model’s texture swapped out to make different ones look distinct. Planets also have a custom rotation speed, so that they slowly spin as you look at them, but the effect can be subtle.
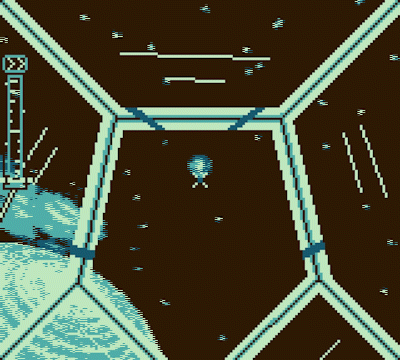
A planet's spin sped up
Logs that tell the story of the game are scattered around key locations, this gives the player an incentive to explore. Their text guides you to other locations to get the next piece of the story. Logs are just defined as text files with coordinates, a title, and some text. The logs themselves are a cylinder with a sphere which get a random rotational axis when the game starts. When the ship gets close to a log the player gets a popup and the log is automatically targeted for them. When the player is within pickup range of the log it disappears and text is added to the player’s log menu on the ship.
Ship Camera Controls Using Quaternions
Quaternions are mathematical objects that can be thought of as a 4D extension to the complex numbers. In this case they are useful because they make combining 3D rotations easier, and avoid a lot of the complexity when dealing with the simpler to conceptualise Euler angles. I still use Euler angles in some parts of the code, but I convert them to quaternions to perform the rotation of the camera. The three directions of rotation usually go by pitch (for up/down), yaw (for left/right), and roll (for clockwise/anticlockwise). In the game the player can change their pitch and roll velocities with the dpad. These velocities are used to rotate the ship each frame. The code also has yaw support, but that is uncontrollable in-game.
The 3D camera has three vectors that form it’s basis, the up, left and right vectors. These vectors are used to calculate the view matrix of the camera. Rotating these vectors changes the pitch, yaw, and roll of the camera. For example, thinking of pitch, we have the up and down motion, which would be around the left pointing vector. So given the angle of rotation, and the left vector, we can build a quaternion for that motion. Doing the same for each of the axis of rotation and multiplying them together results in a rotation that encapsulates the whole motion for that frame. Quaternions are applied by left-multiplying the vector to be rotated by the quaternion, and right-multiplying by that quaternion’s conjugate. We do this operation to each of the basis vectors for the camera resulting in the camera getting all of the rotations for that frame.
Pitch
Yaw
Roll
The code that handles the rotations is actually quite short compared to the explanation of what is happening and why it works.
// calculate the quaternion for each axis of rotation
quat pitch(pitchVel * frameTime, leftVec );
quat yaw  (yawVel   * frameTime, upVec   );
quat roll (rollVel  * frameTime,  frontVec);

// combined rotation
quat rot  = pitch * yaw * roll;
quat conj = conjugate(rot);

// rotate the axis of rotation
// by the combined quaternion
leftVec  = rot * leftVec  * conj;
upVec    = rot * upVec    * conj;
frontVec = rot * frontVec * conj;
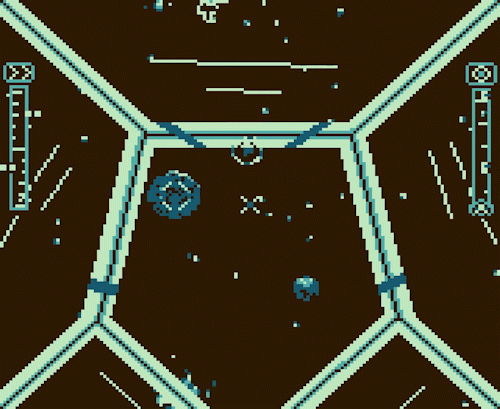
Targeting 3D Objects in 2D
The game features a targeting system that makes navigating easier. The ship can target 3D positions in the world, which are shown in the ship’s 2D overlay with circles around where that position is in the world. When that object is offscreen, there is an arrow pointing in the closest direction.
Because the ship is really just a 3D camera, the ship has access to the game’s view and projection matrices. These matrices work by transforming points from our 3D world, first into a position relative to the camera (the view matrix), then a position when that point is ‘projected’ onto a 2D screen (the projection matrix). These matrices are normally used by the vertex shader to render the 3D models, but given that it can get use from a target in 3D space to a point on the screen, we can use this for the targeting system. So given a view-projection matrix and a target, we can get the distance of the target from the camera, and the screen coordinates of the target.
vec4 clip = viewProj * vec4(target.x, target.y, target.z, 1); // target with w-component 1 (as it is a position and not a vector)
vec2 screen(clip.x / clip.w, -clip.y / clip.w); // x, y screen coords of the target in the range [-1, 1]
float dist = clip.z; // distance from the camera
This gives us x and y values in the range of [-1, 1] for the position of that point on the screen. values above that indicate an offscreen target. Currently, if we were looking directly away from the target it would give us screen coordinates within [-1, 1] as well. This is because that point would be projected on the ‘other side’ of the screen. To fix this we can use the distance from the camera to the target, which we get for free with the z component of the target in projection space. With a negative distance we know that the target is behind the camera. We know that if the target is behind us, then it is definitely offscreen, even if the screen coords indicate otherwise. For this reason we can split the rendering of the target into two state, onscreen and offscreen. The onscreen rendering is simple.
if(fabs(screen.x) <= 1 && fabs(screen.y) <= 1 && dist > 0) { //if onscreen
	// use the onscreen circle sprite
	setTex(onscreen);
	// convert to range [0, 1]
	vec2 screenPos = vec2(screen.x + 1, screen.y + 1) / 2;
	// multiply by screen dimension
	screenPos *= vec2(GB_WIDTH, GB_HEIGHT);
	// then offset tex by half of it's dimensions to center it
	screenPos -= offscreen.tex.dim / 2;
	setPos(screenPos);
}
With the offscreen rendering we need to treat negative distance differently, and to keep the target cursor at the border of the screen even if the screen position is within [-1, 1]. We also need to rotate the sprite so the arrow points in the right direction. When the camera is pointing around 90 degrees away from the target, values for the screen clip coordinates get very large. This can lead to visual issues with the target when the camera is moving around. To fix, we can clamp the larger coordinate to a magnitude of 1 and correct the other coordinate based off this, making it much smoother. Because one of the clip coordinates are clamped to -1 or 1, we automatically have the target at the edge of the screen at all times. We can think of corrected coordinate gives a vector pointing from the middle of the screen out to the edge. Working out the angle of this vector in relation to a vector pointing up from the middle gives us a rotation value to use for the arrow sprite.
else {
	//use the offscreen arrow sprite (pointing up)
	setTex(offscreen);

	// fix the magnitude of the larger position to 1 or -1
	// and correct the other direction accordingly
	float* fixed = &screen.y;
	float *variable = &screen.x;
	if(fabs(screen.x) > fabs(screen.y)) {
		fixed = &screen.x;
		variable = &screen.y;
	}
	if(*fixed != 0) {
		*variable /= fabs(*fixed);
		*fixed = sign(fixed);
	}

	// get the angle of the vector pointing towards the target
	// from the center of the screen
	vec2 norm = normalize(screen);
	// offset angle by 90, as the texture is pointing up
	float angle = atan2(norm.y, norm.x) + (PI / 2);

	// set texture rotation
	setBaseRot(angle * 180 / PI); //convert to degrees
	// limit screen pos to [0, 1] then multiply by screen dimensions
	vec2 texPos(
		((screen.x + 1) / 2) * GB_WIDTH,
		((screen.y + 1) / 2) * GB_HEIGHT);
	// clamp to the border of the screen
	if(texPos.x > GB_WIDTH - offscreen.dim.x)
	    texPos.x = GB_WIDTH - offscreen.dim.x;
	if(texPos.y > GB_HEIGHT - offscreen.dim.y)
	    texPos.y = GB_HEIGHT - offscreen.dim.y;
	setPos(texPos);
}
With that working for a single target, it becomes trivial to add for multiple targets when it is abstracted properly.